This document walks through the process of analysing the data required to perform an industrial activity, in this case a lift with an overhead crane. The purpose of this analysis is to illustrate the application of the activity analysis method.
This analysis performs Step 2 of the information requirements methodology, that of identifying all participants involved in the activity in question and breaking down the steps in the activity until decision points can be identified.
Top-level approach
At the top level, the methodology is about identifying information that is required, and deciding how to make sure that information is provided at an appropriate quality. It is important that the first step is performed objectively, without being biased by what is already available; it is very easy to talk yourself into believing the information you have currently is what you need.
This doesn't mean your existing information infrastructure needs to be thrown out; it means that you need an unbiased assessment of what information you require before you start looking at whether the current systems can supply that information, and where the shortfalls are. (It may also be the case that you find you are currently collecting a lot of data you can't make any use of.)
Step 1: Lifecycle Activity Model
Everything has a lifecycle; comprising at least a start and an end. Activities are no different. If we wish to support decisions with information throughout the lifecycle of a set of business activities we need to have some representation of what these activities are.
If done diligently the activity models can be used directly to develop information models that match the intended activities. As part of a continuous approach to improvement, the activity models can support business performance analysis and can be updated to better reflect ongoing activities.
In some industries there will be existing libraries of activity models (or process models) which can be used or adapted for this purpose. However, in most cases these will not exist. In this situation it is probably easier to start by analysing a few of your existing processes, and build up a library of common activity types as you go. The diagram editor option to import and export reference data (activity, resource and participant types) may be helpful here.
Step 2: Analysing the Activities
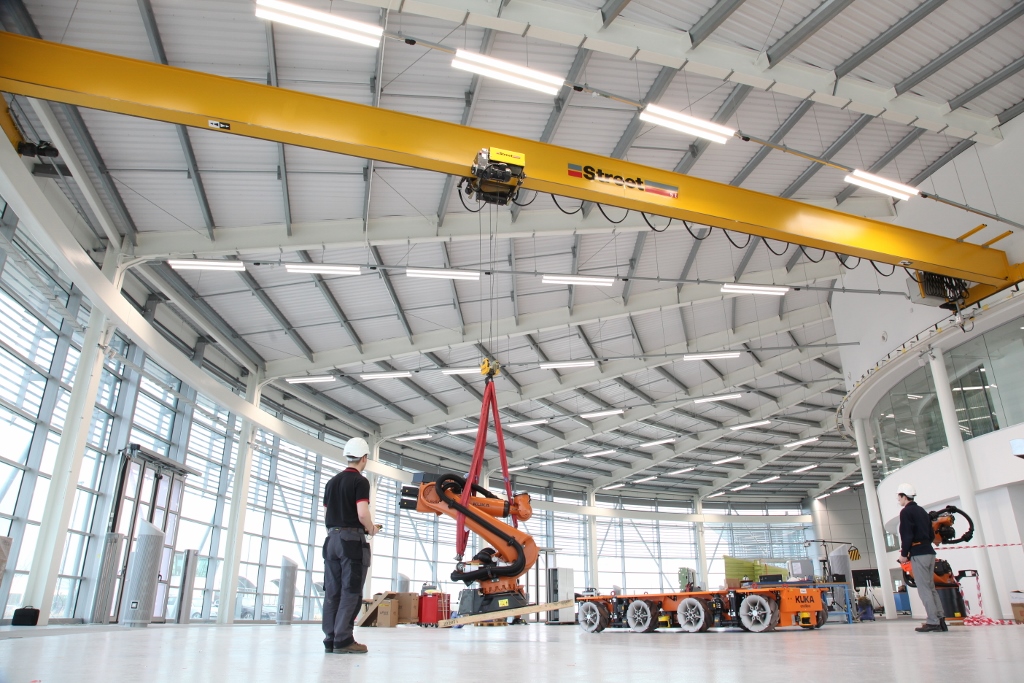
The first step in analysing a particular activity is to identify the steps involved and the points where decisions are required. In this case we started with an existing Method Statement document specifying how to perform the lift and generated a diagram showing the steps involved, the objects (human, mechanical and documentary) listed in the Method Statement as being involved in the lift, and which steps required which participants.
Representing a step on the diagram
Take the first step in the process as documented, and represent it on the diagram. Horizontal boxes represent physical objects involved in the process: people, machines, documents, anything at all in the real world that might affect the outcome of the activity. Vertical boxes represent activities, or steps in activities; these are arranged in a timeline. Filled in sections where an activity and a physical object overlap indicate that the object is directly involved in this step of the activity.
There are two people involved in this activity; they have both been given the type ‘Person’. The activity itself has been given the type ‘Briefing’; if we were carrying our analysis on to further activities it would be useful to be able to identify all the ‘Briefing’ steps across all analysed activities, for example to require that a suitable record must be kept.

Adding more steps
Continue adding the rest of the steps in the process as documented. Create new physical objects as needed and add them to the activity steps they are involved in.
The analysis at this point is very much following the process documentation as given in the original Method Statement document. This means that we have not yet tried to identify any activity participants not originally part of the process documentation. To do this we need to start breaking down the steps further, and looking in more detail at what each step involves.


Break down the individual steps
It is then necessary to further analyse each step, breaking it down further if necessary and identifying the decision points. It is important at this stage to also identify any additional physical objects participating in the activity which have been missed; this is easier to do as you ‘drill down’ into the detail of the activity.
Here is one of the steps from the lift above, represented on a separate diagram.
Looking into the activity at this level of detail has identified more participants in the activity: there are safety inspection tags on the equipment which must be checked, and a quarantine area where unsafe equipment is kept for inspection or disposal.
In this diagram there are steps which may be omitted (if the equipment is safe it will not be quarantined) and steps which may be repeated (if we quarantine unsafe equipment we need to choose another set and re-inspect). There are also situations (an unsafe crane) where the entire activity will need to be abandoned. Currently it is not clear how best to model these situations; work is ongoing.

To create a sub-task breakdown like this, open the sub-tasks of one of the existing steps. This will open a new diagram view showing sub-tasks of the chosen task. Now start creating activities as before.

Create new individuals as needed; these will also show up on the top-level view.

Once the sub-task has been analysed, it is helpful to go back to the top-level view and add the new individuals identified as participants in the top-level activity.
This can be loaded as an example in the Editor.
The completed diagram can be loaded into the editor from the examples menu.

Step 3: Identifying Decisions
This step has not been carried out in detail, as it is out of the scope of the activity diagram editor as such. Currently this step would need to be performed manually, by making lists of the activities identified and the decisions involved. Our hope is that in the future tooling can be developed to make this stage of the analysis easier.
Identifying decision points
Decisions are normally made at the start or end of activities. A decision in the middle of an activity normally indicates that there are sub-tasks that need further analysis. So, given our breakdown of the steps in the activity, we can look at each step and ask:
- Do we need to make a decision at the start or end of this task?
- What information do we require to make those decisions?
- Where does that information come from?
For even a relatively simple process this can result in a lot of information requirements, but without performing the analysis we have no way of knowing whether these requirements can be met consistently.
Finding the source of the information
Having identified the decision points in the activity, and the information required to make these decisions, we now need to track the objects involved back in time to find where this information was created.
Sometimes this may involve going a long way back. For example, part of deciding whether the crane is safe to use involves checking the safety tag put on by the insurance safety inspector; this means we need to track the history of the crane back at least as far as the last inspection. Deciding whether the crane is capable of performing the lift requires the crane's working limits, which were supplied to us at the time the crane was bought.

Deciding where to stop
One of the important questions to ask here is ‘when do we stop analysing’. The answer is ‘when you have identified all the information you need for your original activity’, but the only way to really be sure you have identified everything is to go at least one step further than you need, so that you can see that the new information you are identifying does not bear on the original activity.
For the purposes of our analysis, we are going to say that information about the actual inspection represented by the safety tag is out of scope, and the only information required by the safety check step is whether a valid tag is present or not. However, it is important to recognise that information quality management is a process, and we may need to revisit decisions like this later.